Peanut Butter Chocolate Lava Cakes: Molten Magic in Minutes
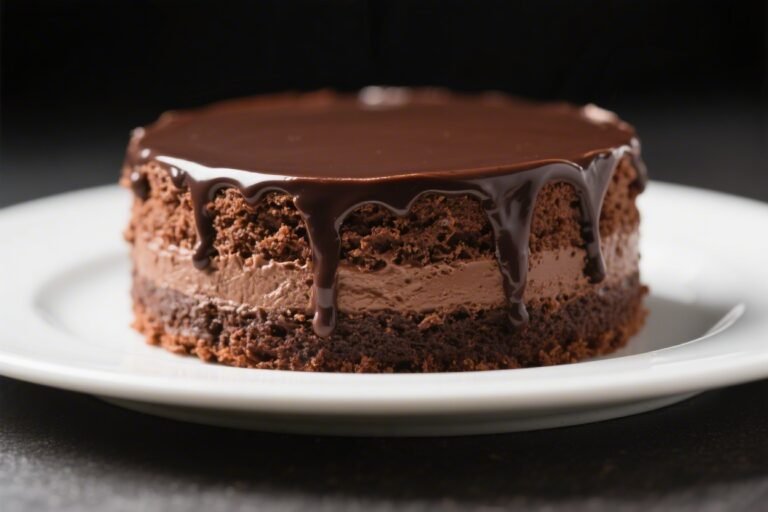
The moment a spoon digs into a warm peanut butter chocolate lava cake, life gets a little sweeter—almost scandalous in the best way. Gooey center, nutty richness, and a brownie-like shell that cracks just right. If dessert romance had a flavor, this would be it. Ready to bake something that’ll wow a crowd and barely fool a clock? Let’s dive in.
What makes peanut butter chocolate lava cakes so irresistible
They’re not just “chocolate with peanut butter” dressed up. They’re a flip-the-switch kind of dessert: a tidy outer shell that holds back a molten, peanut-buttery core. The contrast between hot, gooey center and firm, cake-like exterior is where the magic happens. IMO, the key is balance—enough chocolate to feel lush, enough peanut butter to pop, without tipping into richness overload.
What you’ll need in the kitchen arsenal

- Ramekins or muffin tins that are oven-safe and ready to party
- Good quality dark chocolate
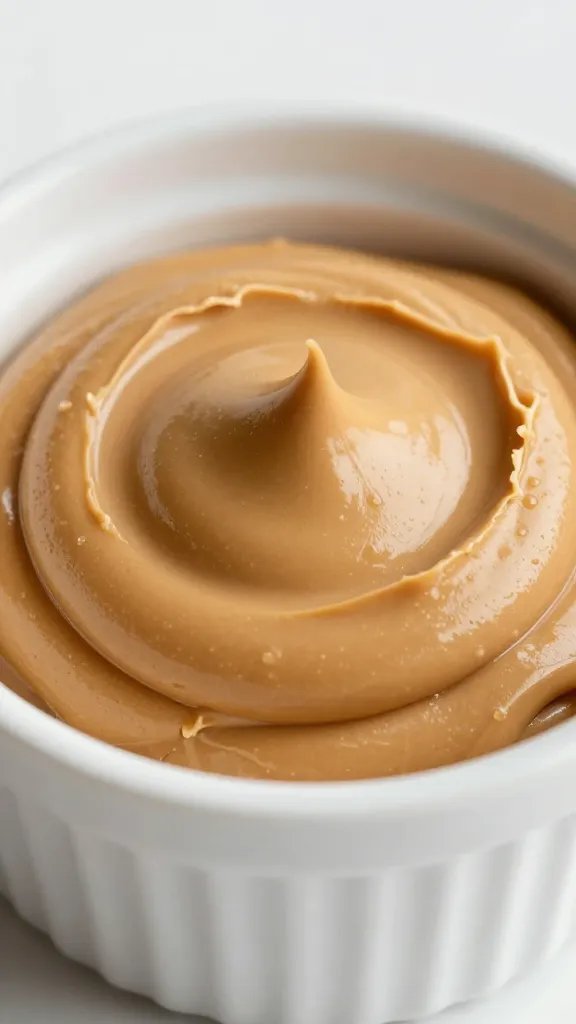
- Peanut butter that’s creamy and not too oily
- Butter, sugar, eggs, and a little flour
- A splash of vanilla and a pinch of salt
Few ingredients, big payoff. FYI, you don’t need fancy chocolate to win here, but don’t grab the cheapest stuff either—quality matters for that glossy, glossy center.
How to assemble the batter like a champ
You’re aiming for a two-zone batter: chocolate base and peanut butter center. It’s like a dessert couple’s therapy session in a bowl.
Step-by-step batter tips
- Melt chocolate with butter until silky. Don’t overheat—nervous chocolate gets grainy.
- Whisk eggs, sugar, and vanilla until light and airy. Yes, air is a real ingredient here.
- Fold in the warm chocolate, then a touch of flour. The flour keeps things from collapsing like your diet on cheat day.
- Whisk peanut butter with a touch of sugar and a pinch of salt. You want it sweet, not sandy.
- Assemble by spooning batter into cups, add a dollop of peanut butter in the center, then seal with more batter.
Cooking tips: how to nail lava, not lava disaster
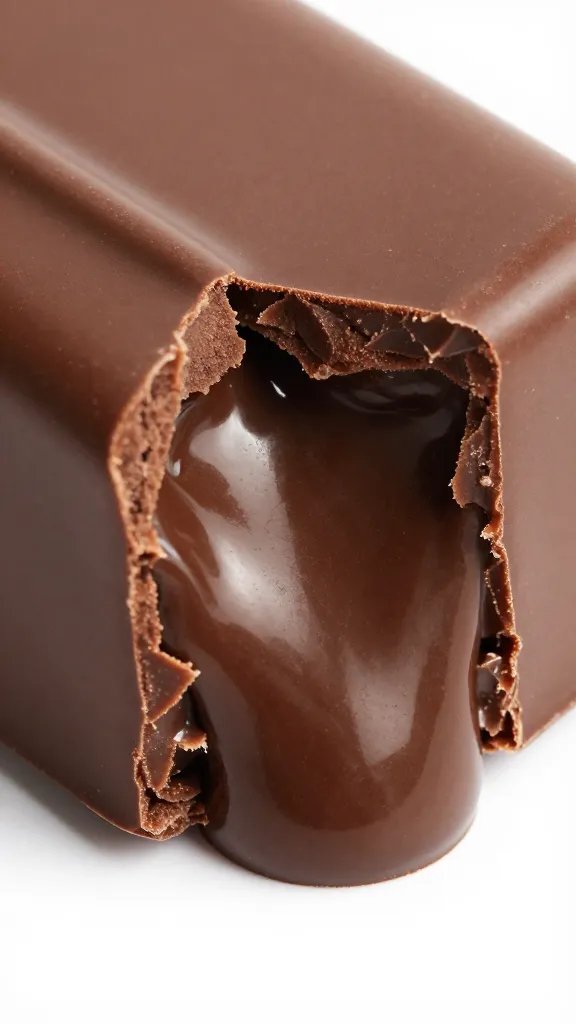
The bake time is where many lava dreams either rise or crash. The goal: outer cake with a perfectly molten core.
Timing and temperature hacks
- Preheat thoroughly. Cold batter = sad lava.
- Bake at a moderate temperature, around 425°F (220°C), for 12–14 minutes. If you’re using larger ramekins, add 2–3 minutes. If you like it super gooey, pull earlier; don’t worry, the residual heat will keep cooking.
- Let them rest 2–3 minutes before flipping onto plates. If you’re fancy, shake the ramekins a little to loosen.
Flavor twists you’ll actually want to try
You don’t have to play it vanilla. Here are a few fun riffs that still keep the core lava vibe intact.
Salted caramel drizzle
A slick of caramel over the top adds a sexy balance to the peanut butter. FYI, a tiny pinch of flaky salt on the surface makes everything pop.
Honey-roasted peanut crunch
Chopped roasted peanuts sprinkled on top after baking add texture and a toasty vibe. It’s like a tiny, crunchy chorus line in your cake.
Espresso boost
Add a teaspoon of espresso powder to the chocolate batter. The bitter coffee notes pair beautifully with peanut butter and chocolate. Do not skip this unless you hate joy.
Serving ideas: how to present a lava love fest
Presentation matters, even when you’re feeding yourself at 9 p.m. on a weekday.
- Dust with powdered sugar for a photo-ready edge.
- Serve with vanilla ice cream for a classic pairing. The hot cake + cold cream = applause.
- Plate with a light smear of raspberry coulis for a color pop and a tangy zing.
Common mishaps and how to avoid them
Even experienced bakers have grief moments with lava cakes. Here are the fixes you’ll thank me for.
Center won’t melt
If your center isn’t gooey, it may be overbaked or too cold when you started. Try reducing bake time by 1–2 minutes or warming the batter a bit before assembling. Also, double-check your ramekins aren’t leaking heat.
Sinky edges
If the edges collapse or the center sinks after cooling, you might have overmixed the batter or used too much flour. Fold just until the mixture comes together, and keep the batter thick enough to hold its shape.
Dry cake, wet center
This happens when the batter is uneven in the cup. Make sure you seal the peanut butter well with batter all around it, so every bite includes that molten surprise.
FAQ
Can I make these ahead of time?
Yes, you can prepare the batter up to the point of filling the cups, then refrigerate. Bring to room temperature before baking. If you’re short on time, you can bake from cold, but the center may not be as molten as you’d like.
What substitutes work for peanut butter?
If you’re out of peanut butter or have a peanut allergy, almond butter works nicely. Tahini can give a different twist, but it’s more savory—adjust sugar if needed. FYI, consistency matters; you want something creamy, not oily.
Are these freezer-friendly?
Yes, you can freeze unbaked portions. Wrap tightly and freeze. Thaw in the fridge, then bake as directed. They’ll still be delicious, just be mindful of bake time since frozen batter can take a bit longer.
Could I make them mini for a party?
Absolutely. Use mini ramekins or a muffin tin. Shorter bake times, of course. The principle remains the same: outer cake, center lava. Your guests will be obsessed with the “oh wow, inside!” moment.
Conclusion
Peanut butter chocolate lava cakes are the sweet version of a mic-drop moment. A few smart moves—quality chocolate, a confident swirl of peanut butter, and precise timing—turn simple ingredients into a dessert that feels luxurious without the fuss. So go ahead, bake them for yourself, for friends, or for that stubborn group chat that needs a win. FYI, once you crack the gooey center, there’s no turning back to regular dessert life. Enjoy the lava, savor the smile, and don’t forget to share the love (and a spoon).