The Addictive Candy Crush Cooler Recipe
You know that feeling, right? You’re five moves away from clearing a particularly obnoxious Candy Crush level, the music is building, and your brain feels like it’s doing a sugar-fueled marathon. Sometimes, you just need to step away from the screen and bring that vibrant, playful energy into the real world. That’s precisely why we concocted the Candy Crush Cooler – a drink designed to be as visually stunning and deliciously addictive as your favorite puzzle game. Get ready to swap virtual candies for real-life sips of pure joy.
Why a Candy Crush Cooler? The Obsession is Real.
Let’s be honest, we’ve all been there. Hours melt away as you meticulously plan your next move, hoping for that elusive color bomb or striped candy combo. Candy Crush isn’t just a game; it’s a lifestyle for millions. It offers a delightful escape, a burst of color, and a satisfying “crush” when you clear a difficult board. But what if you could bottle that feeling?
That’s where this cooler comes in. It’s more than just a sweet drink; it’s a homage to the game, a tangible representation of its vibrant, sugary world. Whether you’re celebrating a level-up or drowning your sorrows after a particularly brutal failure, this cooler is your liquid pick-me-up. Plus, it looks absolutely phenomenal, which, let’s face it, is half the fun.
The Vibe Check: What Exactly Are We Making?
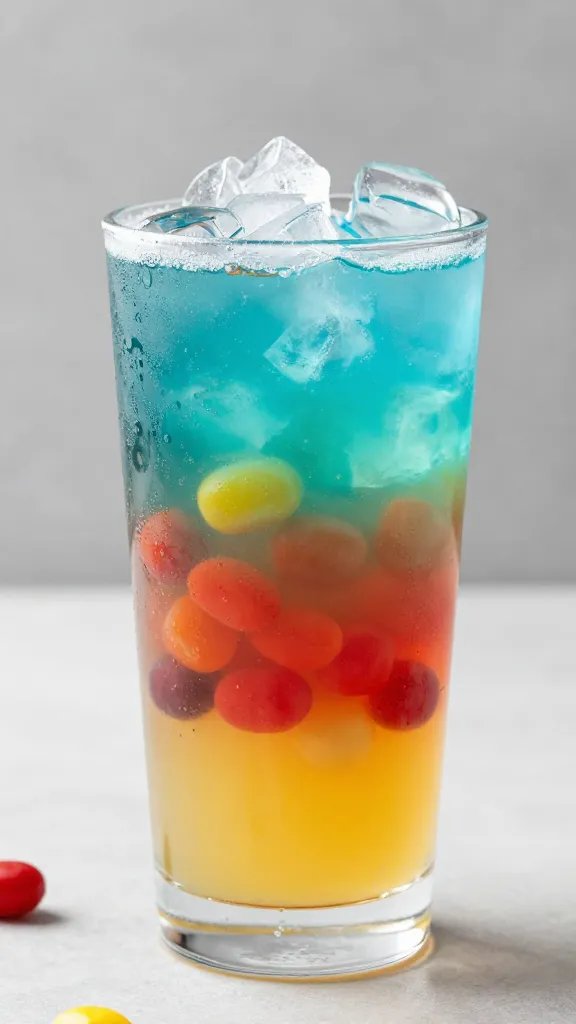
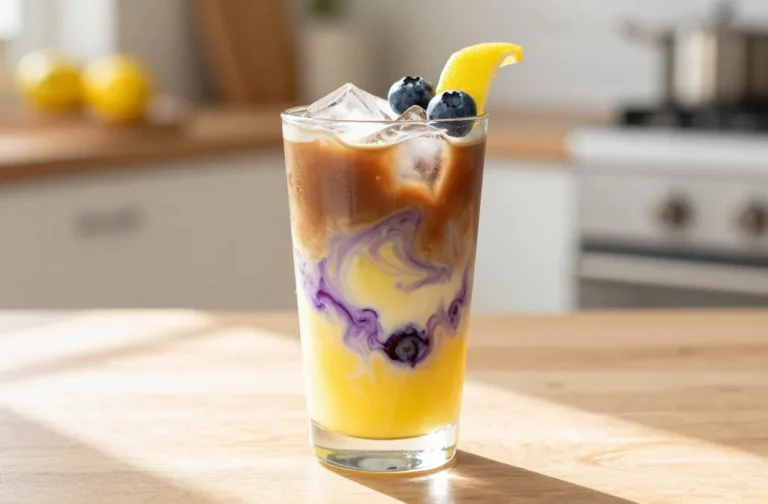
Imagine a drink that looks like it jumped straight out of your phone screen. We’re talking layers of bright, distinct colors – think ruby red, electric blue, sunny yellow, and maybe a splash of verdant green. Each sip should be a refreshing explosion of fruity sweetness, perfectly balanced to avoid being cloyingly sugary. It’s playful, it’s pretty, and it’s undeniably fun.
This isn’t some bland, single-note beverage. Oh no, we’re aiming for a symphony of flavors and textures. It has to be visually appealing enough to make your Instagram followers jealous, but also delicious enough that you’ll want a second (and maybe a third) glass. IMO, presentation is key, and this cooler delivers on all fronts.
Gathering Your Sweet Arsenal: Ingredients You’ll Need
Alright, aspiring mixologists, let’s get down to business. Crafting the perfect Candy Crush Cooler requires a few key players. The magic truly happens when these ingredients come together in a beautiful, layered display. Don’t skimp on quality here; your taste buds will thank you.
Here’s what you’ll need to assemble your colorful concoction:
- For the Red Layer: Cranberry juice or cherry juice (unsweetened or lightly sweetened)
- For the Blue Layer: Blue curaçao syrup (non-alcoholic for kids, or the real deal for adults) or blue raspberry Kool-Aid/drink mix
- For the Yellow Layer: Pineapple juice or orange juice
- For the Green Layer (Optional but Recommended): Green apple soda or a splash of limeade
- For the Fizz: Lemon-lime soda (like Sprite or 7UP) or sparkling water
- Sweetener (Optional): Simple syrup or grenadine (if your juices aren’t sweet enough)
- Ice: Lots of it!
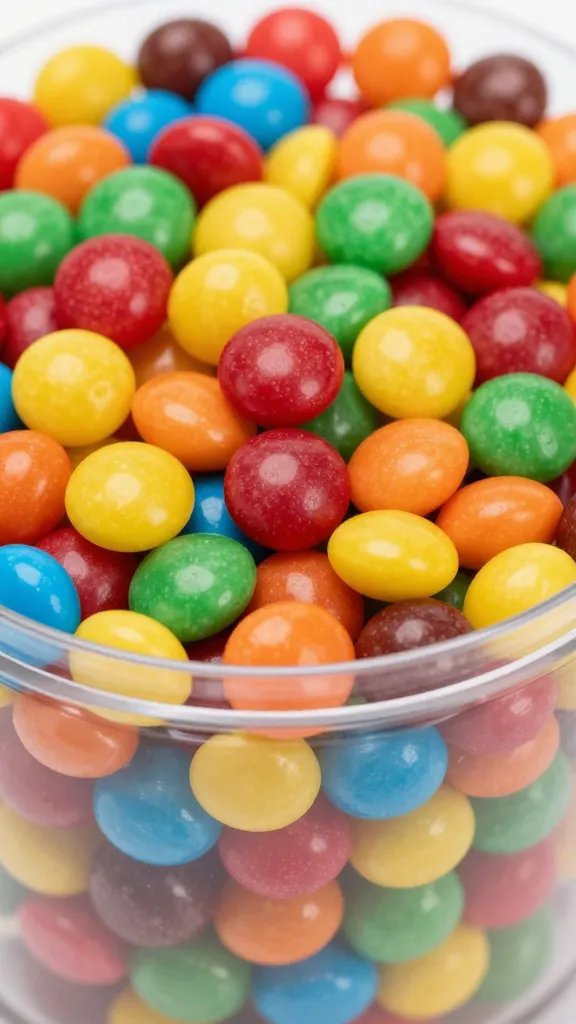
- Garnish: Gummy candies (bears, worms, rings – the more colorful, the better!), fresh fruit slices (lemon, lime, orange), maraschino cherries
The Secret Sauce: Layering for Maximum Impact
Ever wonder how those gorgeous layered drinks hold their distinct colors? It’s all about density, my friend. Sugar content dictates how heavy a liquid is. The more sugar a liquid contains, the heavier it is, and the lower it will sink in your glass. We’ll use this scientific principle to our advantage to create those stunning, defined stripes. This is why we choose specific juices and syrups – they have varying sugar levels that help them stack beautifully.
Let’s Get Crushing! Step-by-Step Assembly
Now for the fun part: putting it all together. This process is less about frantic crushing and more about careful pouring. Think of it as delicately placing your candies to achieve that perfect match. Patience is a virtue here, especially if you want those crisp, distinct layers.
Here’s your game plan for crafting the ultimate Candy Crush Cooler:
- Chill Everything: Make sure all your juices and sodas are thoroughly chilled. Warm liquids mix much faster, ruining your layers.
- Ice It Up: Fill your chosen glass (a tall, clear glass works best for showing off the layers) almost to the top with ice. This helps slow down the mixing process and keeps your drink frosty.
- Start with the Heaviest: Pour your heaviest liquid first. This is usually the one with the most sugar. If you’re using grenadine or blue curaçao syrup, they’ll often be your first layer. Let’s say we start with blue curaçao syrup (non-alcoholic version for a kid-friendly drink) – pour about an inch or two into the bottom of the glass.
- Add the Next Layer: Slowly pour the next heaviest liquid over the back of a spoon, allowing it to gently cascade onto the ice and settle on top of the first layer. This technique prevents the liquids from mixing too quickly. For example, add your red cranberry or cherry juice next.
- Continue Layering: Repeat the spoon-pouring technique for your subsequent layers. Next up, perhaps the yellow pineapple juice, followed by the green apple soda.
- Top with Fizz: Finish by slowly topping the drink with your lemon-lime soda or sparkling water. The fizz adds a delightful sparkle and lightens the drink.
- Garnish with Gusto: Skewer a few colorful gummy candies onto a cocktail pick or drop them directly into the glass. Add a slice of citrus or a maraschino cherry for that extra pop of color.
Pro Tips for a Picture-Perfect Pour
Want those layers to be so sharp they could cut glass? Here are a few insider secrets:
- The Spoon Trick is Your Best Friend: Seriously, don’t underestimate the power of pouring slowly over the back of a spoon. It diffuses the liquid and helps it float.
- Use Plenty of Ice: More ice means more surface area for the liquids to hit and slow down, aiding in separation.
- Don’t Be Afraid to Experiment: If your first attempt isn’t perfectly layered, don’t sweat it! Practice makes perfect. Plus, it’ll still taste amazing.
- Consider Specific Gravity: If you’re really getting into it, a quick Google search for the specific gravity of your chosen liquids can help you plan your layering order perfectly. FYI, the higher the specific gravity, the heavier the liquid.
Level Up Your Cooler: Customization & Variations
The beauty of the Candy Crush Cooler is its versatility. You can totally make this recipe your own, adapting it for different tastes, occasions, or even dietary preferences. Don’t be afraid to experiment – that’s how you discover your ultimate “power-up” combo!
- Adult-Only Crush: For a grown-up version, swap out the non-alcoholic blue curaçao syrup for the real deal. A splash of vodka, white rum, or even a berry-flavored liqueur can turn this into a fantastic party cocktail. Just remember to drink responsibly!
- Healthier Twist: Reduce the added sugar by using 100% fruit juices and sparkling water instead of soda. You can also opt for natural food colorings if you’re avoiding artificial dyes.
- Fruity Fusion: Experiment with different fruit juice combinations. Mango, guava, pomegranate, or even a splash of passion fruit juice can add new dimensions of flavor and color.
- Garnish Galore: Beyond gummies, consider adding cotton candy for a whimsical cloud effect, rock candy swizzle sticks, or even edible glitter for extra sparkle.
- Batch It Up: For a party, you can pre-mix larger quantities of each individual layer and then simply layer them into glasses as guests arrive. Keep the pre-mixed liquids chilled!
When to Serve Your Masterpiece: Occasions & Pairings
This isn’t just a drink; it’s an event! The Candy Crush Cooler is perfect for a multitude of occasions, adding a splash of fun and color wherever it goes.
Think about serving this at:
- Kids’ Birthday Parties: It’s a guaranteed hit and makes for fantastic photos.
- Summer BBQs: A refreshing, vibrant alternative to traditional lemonade or iced tea.
- Game Nights: Especially if you’re actually playing Candy Crush or other colorful board games.
- Instagram-Worthy Brunches: Elevate your mimosa game with something truly unique.
- Just Because: Honestly, sometimes you just need a burst of joy on a random Tuesday. No special occasion required.
Pair this sweet drink with salty snacks to balance the palate. Think popcorn, pretzels, or even some savory mini quiches. Or, lean into the sweetness with cupcakes, sugar cookies, or a colorful fruit platter.
Frequently Asked Questions
Can I make this Candy Crush Cooler ahead of time?
You can certainly prepare your individual juice and syrup components ahead of time and keep them chilled. However, for the best visual effect and to maintain those crisp layers, it’s best to assemble the drink just before serving. The layers tend to mix over time, especially if the ice melts.
What if I don’t have all the specific ingredients listed?
No problem at all! This recipe is incredibly flexible. You can substitute different fruit juices (e.g., grape for cherry, apple for pineapple) or even use flavored drink mixes like Kool-Aid for vibrant colors. Just remember to consider the sugar content for layering – sweeter liquids go on the bottom.
How do I make the cooler less sweet?
To reduce sweetness, opt for unsweetened juices and use sparkling water instead of lemon-lime soda. You can also dilute the sweeter syrups with a bit of water before layering. Taste as you go and adjust to your preference!
Can I make a boozy version of the Candy Crush Cooler?
Absolutely! For an adult-friendly twist, incorporate a clear spirit like vodka, white rum, or tequila into one of your layers. Blue curaçao liqueur (the alcoholic version) is a fantastic way to get that vibrant blue color with an added kick. Just make sure to clearly label the adult versions!
Is this drink suitable for kids?
Yes, it’s a fantastic kid-friendly option! Just ensure you use non-alcoholic blue curaçao syrup (often labeled as “blue raspberry syrup” or “blue Hawaiian syrup”) and stick to fruit juices and sodas. Kids absolutely adore the vibrant colors and sweet taste.
How long does the Candy Crush Cooler last once assembled?
Once assembled, the layers will start to mix as the ice melts, and the fizziness of the soda will diminish. For the best experience, consume the cooler within 15-30 minutes of assembly. If you’re making a batch for a party, it’s best to assemble individual glasses as needed.
Crush Your Thirst, Conquer Your Day
So there you have it – your very own Candy Crush Cooler. It’s a little bit of magic, a whole lot of fun, and a delicious way to bring some vibrant cheer into your life. Whether you’re a seasoned Candy Crusher or just someone who appreciates a stunning, tasty beverage, this recipe is a guaranteed winner. Go forth, mix up a batch, and let the good times (and the sweet sips) roll!