DIY Painted Plant Pot Ideas for Stylish Home Decor
Nothing perks up a windowsill like a painted plant pot. It’s instant color, instant personality, instant “I have my life together” energy—even if your monstera says otherwise. You don’t need fancy tools, art school credentials, or a steady hand.
You just need some paint, a plan, and a pot that’s ready for a glow-up.
Why Paint Pots At All?
You could buy cute pots, sure. But painted pots let you match your vibe, your space, your plants, and your budget. They turn a plain terracotta pot into a mini art project you actually use.
Plus, painted pots make killer gifts. Imagine giving a friend a pot with their favorite colors and a tiny plant inside. That’s thoughtful and adorable.
FYI: people keep gifts that match their home.
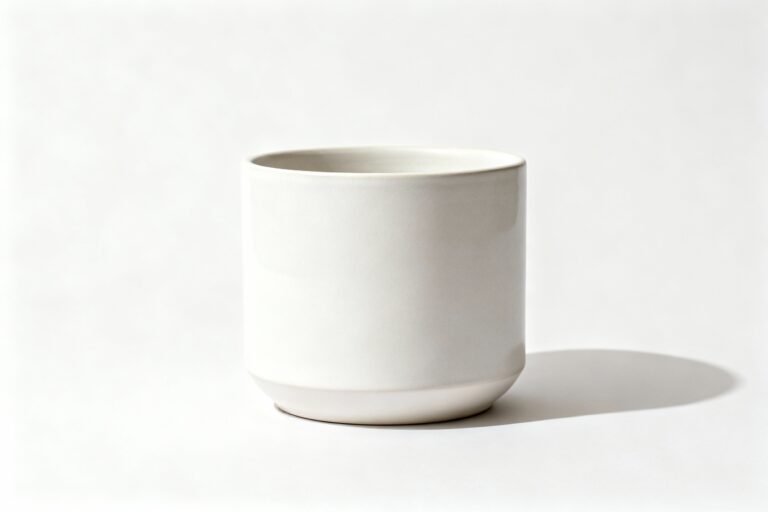
Picking the Right Pot (Material Matters)
Not all pots play nicely with paint. Choose wisely and you’ll avoid flaking, peeling, or weird blotches that look like paint acne. Here’s the lowdown:
- Terracotta: Porous and thirsty.
Paint sticks well, but seal inside or expect moisture stains on the outside.
- Ceramic (unglazed): Smooth enough to paint, rough enough to grip. Great choice.
- Ceramic (glazed): Super smooth. Lightly sand and prime or your paint will slide off like a penguin on ice.
- Plastic: Works with plastic-friendly primer and paint.
Avoid cheap, super-flexy containers—they can crack the paint.
- Concrete: Trendy and paint-friendly. Seal it to prevent efflorescence (that chalky white bloom nobody asked for).
Drainage: Non-Negotiable
Plants hate wet feet. If your pot lacks a drainage hole, either drill one or keep it as a cachepot (a decorative outer pot) with a plastic grow pot nested inside.
What Paint Actually Works?
You don’t need the art store’s entire aisle.
Keep it simple:
- Acrylic craft paint: Cheap, colorful, easy. Perfect for terracotta and ceramic with primer.
- Outdoor acrylic or multi-surface paint: More durable for patios and sun-heavy spots.
- Spray paint: Fast and even. Use a primer first and go light on coats.
- Paint pens: Ideal for details, lettering, and patterns if brushes stress you out.
Primer and Sealer: The Secret Sauce
Use a bonding primer on glazed ceramic, plastic, or anything too smooth.
Finish with a clear acrylic sealer (matte, satin, or glossy) to protect your design. For terracotta, seal the inside too if you want maximum durability.
Prep Like a Pro (It’s Half the Battle)
Prepping takes 15 minutes and saves hours of regret. Here’s your mini checklist:
- Clean the pot: Wash with mild soap and water.
Dry completely.
- Lightly sand glossy surfaces: 220-grit. You’re scuffing, not carving.
- Tape off rims or sections with painter’s tape for crisp lines.
- Prime if needed: Thin, even coat. Let it dry fully.
Design Ideas You’ll Actually Use
No need to go full Bob Ross.
Start with simple, high-impact designs. Your coffee table will thank you.
- Color block: Two or three bold colors wrapped in geometric chunks. Mask with tape for clean edges.
- Ombre fade: Blend two shades with a sponge.
Looks fancy, takes minutes.
- Minimalist dots or dashes: Paint pen magic. Random spacing = modern, not messy.
- Arches and rainbows: Warm terracotta tones look chic with neutral interiors.
- Monochrome texture: One color, but add texture with a dry brush or stippling.
- Botanical line art: Thin white lines over a muted base. Big impact, low effort.
- Mosaic look: Squares or triangles in alternating shades.
Very “gallery gift shop.”
Pro Tip: Color Palettes That Never Miss
Try these combos if indecision attacks:
- Earthy: Terracotta, clay pink, olive, cream.
- Coastal: Navy, sage, sand, white.
- Bold: Mustard, teal, coral, charcoal.
- Minimal: Black, white, taupe, soft gray.
Step-by-Step: From Plain Pot to “Wait, You Made That?”
Keep it breezy and foolproof with this workflow:
- Prep: Clean, sand if needed, tape, prime.
- Base coat: One or two layers of your main color. Let each coat dry fully.
- Design layers: Add shapes, patterns, or lines. Work light to dark or vice versa, just stay consistent.
- Details: Use paint pens for fine lines and lettering.
- Touch-ups: Clean edges with a small angled brush.
- Seal it: Clear acrylic sealer, two thin coats.
Let cure per label.
Common Mistakes (And How to Dodge Them)
- Thick coats cause drips. Use thin layers and patience. Yes, patience.
- Skipping primer on glossy surfaces leads to peeling.
Don’t skip.
- No interior seal on terracotta? Expect moisture rings and flaking.
- Rushing dry times smears designs. Go make a snack instead.
Make It Plant-Smart
Pretty pots still need to keep plants alive.
We can multitask.
- Leave the rim unpainted if you overwater often. It helps moisture evaporate, IMO.
- Use a liner for finicky plants. Pop a plastic nursery pot inside your painted pot.
- Choose breathable materials for succulents and cacti (terracotta wins).
- Go sealed and sturdy for tropicals that like moisture.
Outdoor vs.
Indoor Considerations
– Outdoors: Use outdoor-rated paint and sealer. Add felt pads or pot feet to keep the bottom dry. – Indoors: Satin or matte finishes look modern and hide fingerprints. Glossy shows every smudge—pretty but high-maintenance, like a ficus.
Creative Extras That Elevate the Look
Ready to flex a little?
Try a few extras that make your pot look boutique-level.
- Gold or metallic accents: A thin rim stripe or tiny dots transforms everything. Use a metallic paint pen for clean lines.
- Textured layers: Mix a bit of baking soda into acrylic paint for a ceramic-like, gritty finish.
- Stencils: Florals, stars, or mid-century shapes. Tape them down, dab gently, don’t flood the edges.
- Hand-lettering: Names, plant care notes, or sassy quotes. “Don’t die on me” always gets a chuckle.
- Wax-resist patterns: Rub a white candle where you want the base color to show, paint over, then buff lightly.
Care and Cleaning (So Your Art Lasts)
You don’t have to baby a painted pot, but treat it with some respect.
- Wipe gently with a damp cloth.
Skip harsh cleaners.
- Lift, don’t drag to avoid scratching the base. Add cork or felt feet if you’re fancy.
- Avoid soaking the exterior. Water inside only.
- Re-seal yearly if the pot lives outside or near a sunny window that doubles as a tanning bed.
FAQ
Do I need to seal the inside of terracotta pots?
You don’t have to, but I recommend it if you want your paint job to last.
Terracotta absorbs water like a sponge, which can push moisture to the outside and cause bubbling or discoloration. A quick interior seal cuts that drama way down.
Can I paint over an old design I don’t like?
Totally. Lightly sand any flaky areas, prime if the surface feels slick, and lay down a couple of base coats to cover the old colors.
Then paint your new design like nothing ever happened. We love a redemption arc.
What’s the best sealer finish: matte, satin, or gloss?
All three work. Matte looks modern and hides imperfections. Satin gives a soft sheen and feels durable. Gloss looks bold and punchy but shows scuffs more. Pick the vibe, then commit.
Will paint harm my plants?
Not if you keep paint and sealer on the outside and let everything cure fully before potting.
If you’re nervous, keep the plant in a nursery pot and use your painted pot as a cachepot. Easy swap, zero stress.
How long should I wait before potting up?
Give it at least 24–48 hours after the final sealer coat, longer if it’s humid. If it still smells like paint, it’s not ready.
Air it out and let those fumes vanish.
What if I mess up a line or smudge something?
Let it dry, sand lightly if needed, and paint over it. Paint forgives most sins. Worst case, call it “abstract” and lean into it.
Art!
Wrap-Up: Paint the Pot, Change the Vibe
Painted plant pots cost little, look custom, and make your space feel intentional. Start simple, pick colors you love, and use primer and sealer like a pro. Before you know it, your shelf will look like a tiny design studio—minus the pretension.
IMO, that’s a win for your plants and your eyeballs. Now grab a brush and make something pretty.