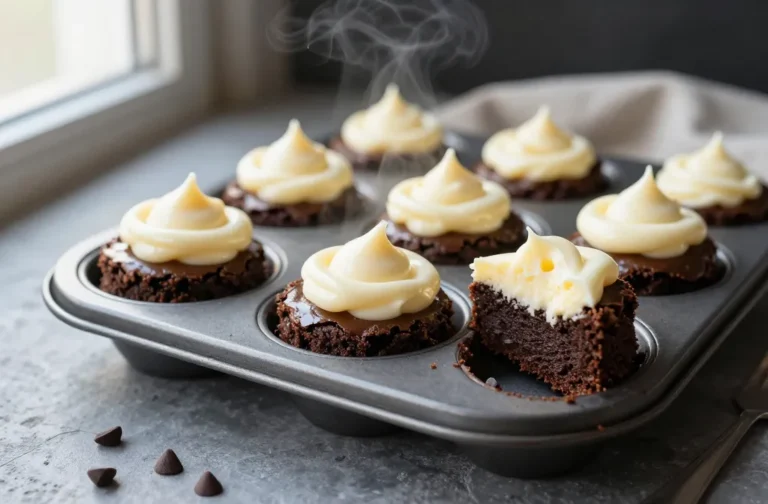
Vintage Cake Is Back: The Nostalgic Showstopper Everyone’s Posting (And You’ll Actually Want to Bake)
You know that dessert your grandma made that looked like a magazine cover and tasted like a hug? This is that—except it’s trending again, and yes, it still slaps. Vintage cake isn’t just a sweet; it’s a vibe: tall layers, silky frosting, swoopy piping, cherries on top, and enough charm to crash a bakery’s Instagram.
It’s the edible version of a velvet dress—retro, bold, and weirdly modern. If you’ve got 90 minutes, a mixer, and a craving for applause, this cake will do the talking.
The Secret Behind This Recipe
Vintage cakes earned their cult status because they balance flavor, texture, and aesthetics. The secret weapon here is a butter-based yellow cake that uses cake flour for a tight crumb and sour cream for moisture.
That combo means slices hold up under heavy frosting and high-stakes slicing. The frosting? A classic ermine buttercream (also called boiled-milk frosting).
It’s softer, silkier, and less sweet than American buttercream, which lets the cake shine while still being totally pipe-able for those iconic shells and swags. Bonus: it stays smooth in the fridge and won’t crust as fast. Add a hint of almond and vanilla, and you’ve basically bottled nostalgia.
What Goes Into This Recipe – Ingredients
For the Vintage Yellow Cake
- 2 3/4 cups (310 g) cake flour, spooned and leveled
- 2 tsp baking powder
- 1/2 tsp baking soda
- 1/2 tsp fine salt
- 1 cup (226 g) unsalted butter, softened
- 1 3/4 cups (350 g) granulated sugar
- 4 large eggs, room temperature
- 2 tsp pure vanilla extract
- 1/2 tsp almond extract (optional but very vintage)
- 3/4 cup (180 g) sour cream, room temperature
- 3/4 cup (180 ml) whole milk, room temperature
For the Ermine (Boiled Milk) Buttercream
- 1 cup (200 g) granulated sugar
- 1/4 cup (30 g) all-purpose flour
- 1 cup (240 ml) whole milk
- 1/8 tsp fine salt
- 1 1/2 cups (339 g) unsalted butter, cool room temperature
- 1 1/2 tsp vanilla extract
- 1/4 tsp almond extract (optional)
For Decorating
- Maraschino cherries with stems, drained and patted dry
- Pastel sprinkles or nonpareils
- Piping tips (round, star, petal) and piping bags
Cooking Instructions
- Prep your battleground. Heat oven to 350°F (175°C).
Grease and line three 8-inch round cake pans with parchment. Lightly flour the sides. If you’ve got bake-even strips, flex them.
- Whisk the dry team. In a bowl, whisk cake flour, baking powder, baking soda, and salt.
Set aside like a pro.
- Cream to cloud level. Beat butter and sugar on medium-high for 3–4 minutes until pale and fluffy. If it’s not fluffy, keep going—air is structure.
- Add eggs with restraint. Beat in eggs one at a time. Scrape the bowl.
Add vanilla and almond. If it looks a bit curdled, relax—flour will fix it.
- Alternate like a DJ. Mix sour cream and milk in a cup. Add dry ingredients to the butter mix in three parts, alternating with the milk mixture, starting and ending with flour.
Mix on low just until combined. Do not overmix.
- Pan and level. Divide batter evenly among pans (about 16–18 oz per pan). Smooth tops and tap to pop big bubbles.
- Bake. 22–26 minutes, until tops spring back and a tester comes out with a few moist crumbs. Rotate once if needed.
Cool in pans 10 minutes, then turn out onto racks to cool completely.
- Make the ermine base. In a saucepan, whisk sugar and flour. Slowly whisk in milk until smooth. Add salt.
Cook over medium, whisking, until thick like pudding, 5–7 minutes. No lumps allowed.
- Chill the paste. Scrape into a shallow bowl, press plastic wrap on the surface, and cool to room temp. It should be cool, not cold.
FYI: warm paste melts butter, cold paste causes curdling.
- Whip the buttercream. Beat butter on medium-high until fluffy, 2–3 minutes. Add the cooled paste a spoonful at a time. Beat until silky.
Mix in vanilla and almond. If it splits, keep beating—heat from friction usually brings it back.
- Stack the layers. Trim domes if needed. Place first cake layer on a board, spread about 3/4 cup frosting.
Repeat with second and third layers. Apply a thin crumb coat and chill 15–20 minutes.
- Frost for real. Add a thicker coat, smoothing sides and top. Chill another 10 minutes for stability before decorating.
- Piping party. Fill piping bag with a star tip for shells and rosettes, a round tip for dots, and a petal tip for ruffles.
Add swags, shells, and a border. Top with cherries and sprinkles. This is where the “vintage” magic happens, so go extra.
- Set and serve. Chill 20–30 minutes so details hold.
Slice with a warm, thin knife. Applause optional, inevitable.
Preservation Guide
- Short-term: Cake holds at cool room temp for 1 day under a cover or cake dome.
- Refrigerate: Up to 4–5 days, well covered. Bring slices to room temp (30–45 minutes) before serving for best texture.
- Freeze layers: Unfrosted cake layers wrap well—double wrap and freeze up to 2 months.
Thaw, still wrapped, at room temp.
- Freeze frosted: Chill cake to firm, then wrap gently and freeze up to 1 month. Unwrap in the fridge to avoid condensation wrecking your piping.
What’s Great About This
- Balanced sweetness: Ermine buttercream is luxe without the toothache. You can actually taste the cake.
- Photo-ready durability: Tight crumb + stable frosting = clean slices and strong layers.
- Nostalgic flavor profile: Vanilla-almond is a cheat code for “classic bakery” vibes.
- Highly customizable: Colors, borders, cherries—make it maximalist or minimal, it still reads vintage.
What Not to Do
- Don’t use cold ingredients. Cold eggs and milk mute rise and create dense layers.
- Don’t skip the crumb coat. Vintage cakes show every flaw—lock crumbs in first.
- Don’t overmix the batter. Overdeveloped gluten = tough cake.
Mix just until combined.
- Don’t pipe on a warm cake. Heat + buttercream = slides and tears. Chill it, then thrill it.
- Don’t drown it in extract. Almond is potent. A little whisper; not a shout.
Recipe Variations
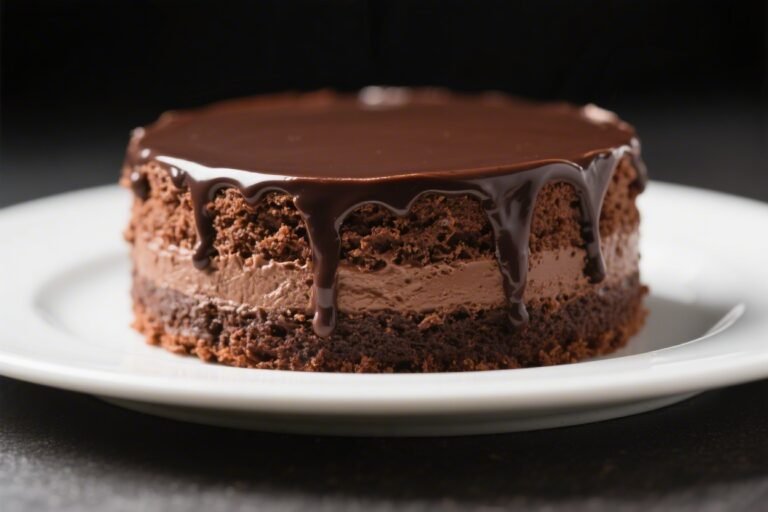
- Chocolate Vintage Cake: Swap 1/2 cup cake flour for 1/2 cup Dutch cocoa; add 1 tsp espresso powder.
Frost with chocolate ermine: whisk 1/4 cup cocoa into the cooled paste before beating in butter.
- Strawberry Party: Add 1/2 cup freeze-dried strawberry powder to the frosting and a thin layer of strawberry jam between each cake layer.
- Lemon-Almond Twist: Add zest of 2 lemons to batter and 2 tbsp lemon juice to milk. Flavor frosting with lemon and vanilla instead of almond.
- Coconut Classic: Brush layers with coconut milk, fold 1 cup shredded coconut into frosting, and press more coconut onto the sides.
- Black Forest Vibes: Soak layers lightly with cherry syrup, add kirsch if you’re spicy, and top each frosting layer with chopped cherries. Keep the maraschinos for the vintage look.
FAQ
Can I use all-purpose flour instead of cake flour?
Yes, but expect a slightly coarser crumb.
For a closer swap, remove 2 tablespoons from each cup of all-purpose flour and replace with cornstarch, then sift well. The texture won’t be identical, but it’s close enough for most home bakers.
Why choose ermine buttercream over American or Swiss meringue?
Ermine is less sweet than American and easier than Swiss, with a plush, velvety finish. It pipes beautifully and holds patterns without crusting fast.
IMO, it’s the perfect middle ground for vintage designs and real-world taste buds.
My frosting curdled. Did I ruin it?
Probably not. It’s usually a temperature mismatch.
Keep beating 2–4 minutes; friction often brings it back. If still split, warm the bowl slightly (10–15 seconds) and beat again. Too warm?
Chill 10 minutes and retry.
How do I get perfectly even layers?
Weigh your batter into pans, use bake-even strips, and rotate once during baking. Trim domes with a serrated knife. A level cake is half the “wow”—the other half is the frosted drama on top.
Can I tint the frosting?
Absolutely.
Use gel colors sparingly for those soft retro pastels. Split the batch for multiple shades—piping borders in two or three colors screams vintage in the best way.
Is this safe for a warm outdoor party?
Butter-based frostings soften above 72–75°F (22–24°C). Keep the cake chilled, display in shade, and serve within an hour.
For hotter days, consider shortening for part of the butter, but flavor will take a tiny hit.
In Conclusion
Vintage cake is proof that “extra” never goes out of style. With a plush yellow crumb and a silky, balanced buttercream, you get flavor that matches the looks—finally. Master the crumb coat, nail a few piping moves, crown it with cherries, and watch it steal the room.
It’s nostalgic, theatrical, and ridiculously satisfying. And yes, your grandma would totally approve.