Waffle Cookies Recipe: Crispy Edges, Chewy Centers
I’ve got a sweet little secret for you: waffle cookies are basically the lovechild of waffles and cookies. Crunchy edges, soft centers, a kiss of vanilla, and a drizzle of cinnamon that makes your kitchen smell like a cozy bakery. Ready to bake something that turns ordinary afternoons into a tiny celebration? Let’s dive in.
What makes waffle cookies so special?
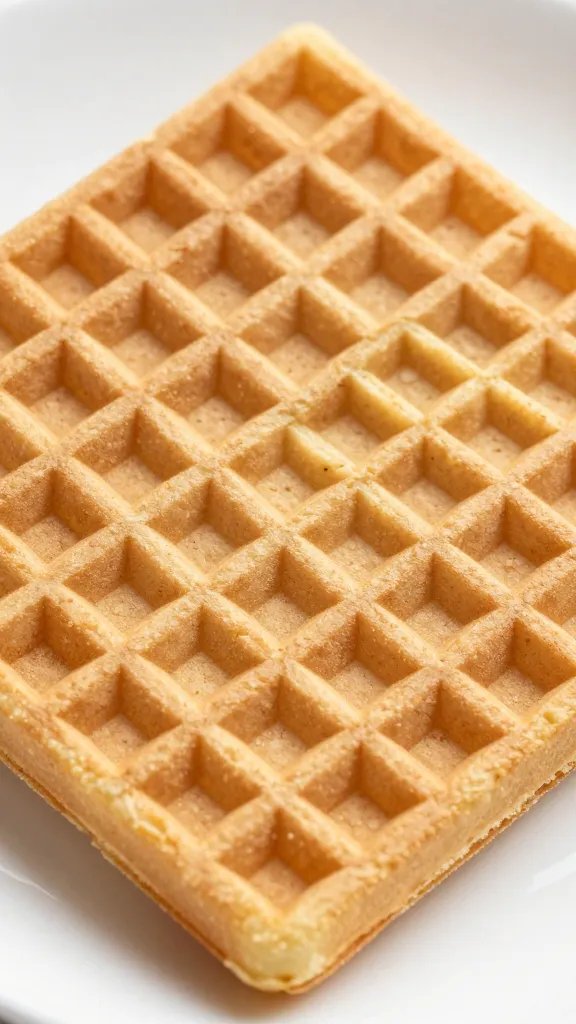
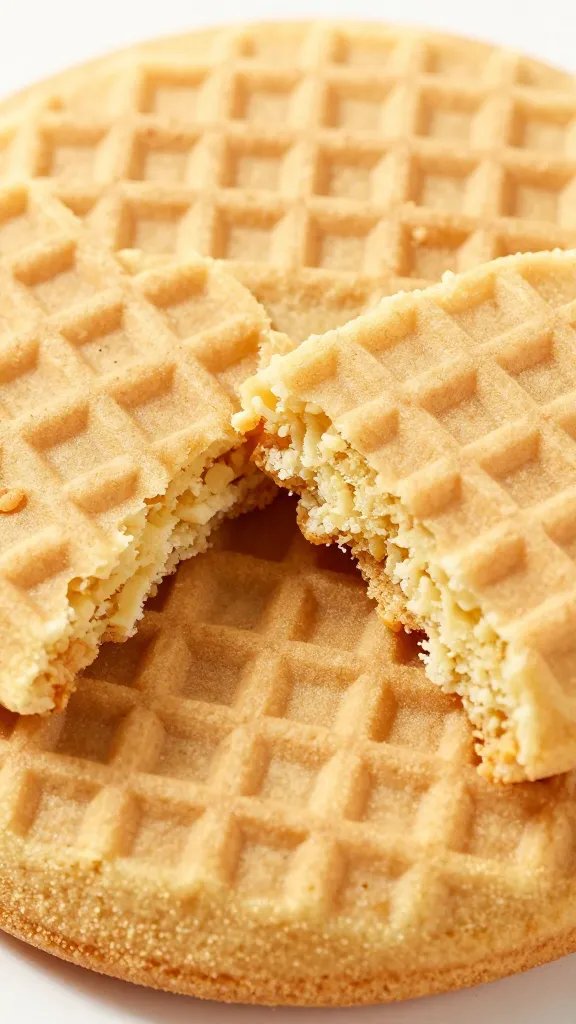
They’re not your average cookie. Think: a waffle iron does the work, giving you those perfect grid lines and a crisp bite. You get crispy exteriors with a tender, chewy center. And since you can flavor them any which way, they’re a party in your mouth that doesn’t require a party hat. FYI, you don’t need to be a pro baker to nail these.
Ingredients you actually want on hand
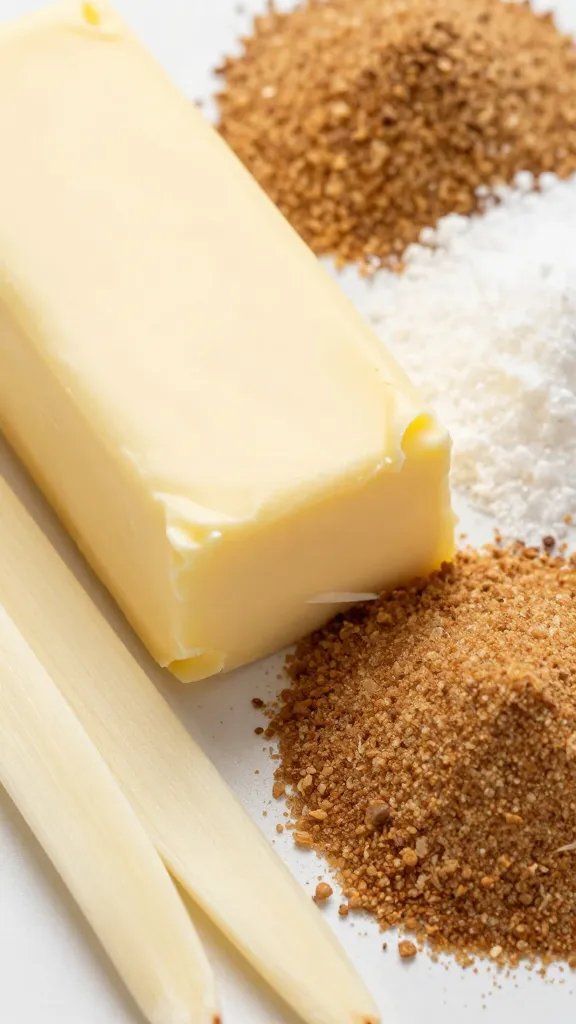
- Butter — softened, for that rich depth.
- Sugar — a mix of granulated and brown for caramel notes.
- Eggs — one helps with structure, two if you want extra chew.
- Vanilla and almond extract (optional but delicious).
- Flour — all-purpose is perfectly fine; if you want a lighter crumb, swap in some cake flour.
- Baking powder — helps cookies puff just enough.
- Salt — balances sweetness and keeps flavors honest.
- Add-ins — chocolate chips, white chocolate, cinnamon, nuts, or a dusting of powdered sugar for a pretty finish.
The simple method to cookie-ify a waffle batter
The goal is a batter that pours like a dream but sets up in the iron like a champ. Here’s the quick flow:
- Cream butter and sugars until light and fluffy. Don’t shortcut this—air in the butter makes cookies that sing.
- Beat in eggs and vanilla until glossy. If you smell vanilla, you’re doing it right.
- Whisk dry ingredients in a separate bowl, then fold into the wet until just combined. Overmix = tough cookies; nobody wants that vibe.
- Stir in add-ins of your choice. Compile the squad now; chocolate chips bring the party.
- Let the batter chill for at least 30 minutes. Chill time = flavor time.
How to bake them in a waffle iron
This is where the magic happens. Your waffle iron is the stage, you’re the conductor.
- Preheat the iron and grease it lightly. You don’t want heroic sticking, just a smooth performance.
- Scoop small balls of dough or drop spoonfuls onto the iron. Don’t overcrowd; give each cookie some space to shine.
- Close the lid and bake until the edges are golden and the center looks set. Timing depends on your iron, but 3–5 minutes is a good starting point.
- Carefully peel away and let cool on a rack. Crunchy edges, soft centers—enjoy the contrast.
Variations to customize your waffle cookies
– Chillier center, crisper edge: bake a touch longer or press dough thinner in the iron.
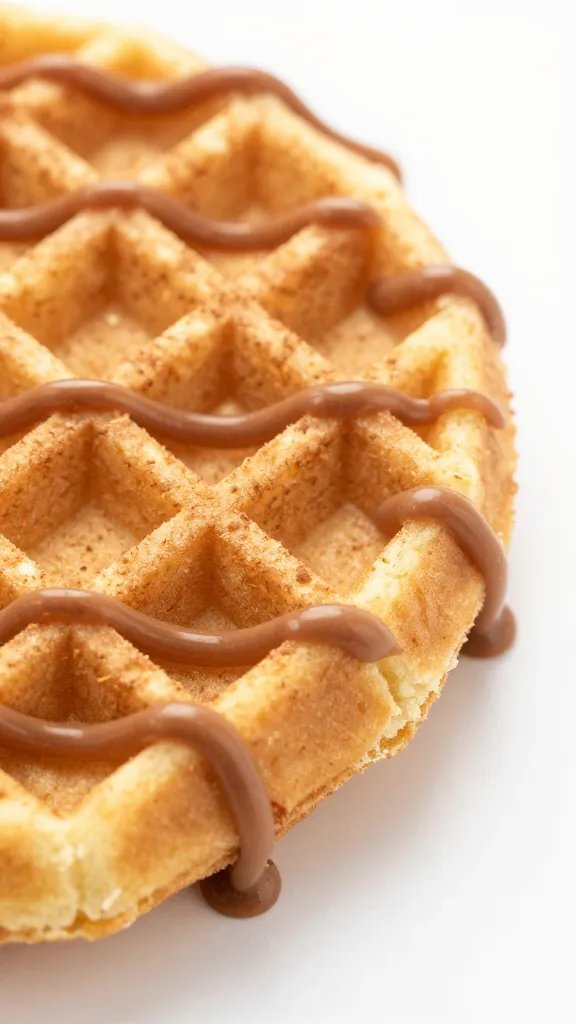
– Cuddlier with chocolate: fold in mini chocolate chips or swirl in Nutella before cooking.
– Spice it up: add a pinch of cinnamon or cardamom to the dry mix.
– Nutty by nature: toss in chopped almonds, pecans, or pistachios.
– Glazed finale: drizzle with a simple sugar glaze or dust with powdered sugar once cooled.
Texture and tricks for perfect results
Getting that ideal texture is a little science, a little art, and a lot of taste-testing with your taste buds as the boss.
- Chill is chill: cold dough holds its shape and gives nicer grids on the cookie.
- Butter matters: use unsalted butter so you control the salt level; salt the taste double-time.
- Don’t overmix: once the flour hits, fold gently. You want a tender crumb, not a chewy forest.
- Iron timing: every waffle iron bakes a bit differently. Start with 3 minutes and adjust by 30 seconds until you nail it.
Storage and reheating tips
– Storage: keep in an airtight container at room temperature for up to 5 days, or freeze for longer. Freeze first, then bag to prevent the sticks-from-dough disaster in your freezer.
– Reheating: warm in a 350°F (175°C) oven for a few minutes or nuke briefly if you’re in a rush. The goal is a fresh-crisp, not a cardboard bite.
Flavor pairings and serving ideas
Waffle cookies are versatile enough to pair with a bunch of tasty companions.
- Dip in melted chocolate or caramel for a decadent treat.
- Serve with vanilla ice cream and a drizzle of maple syrup. Yes, it’s a breakfast-for-dessert moment.
- Top with whipped cream and berries for a quick brunch idea.
- Pair with coffee, because everything is better with coffee and crispy cookies.
FAQ
Can I make these without a waffle iron?
Yes, you can bake spoonfuls on a parchment-lined sheet like regular cookies. They won’t have the classic waffle grid, but they’ll still taste amazing. If you’re craving the grid, you can press dough into a mini-waffle maker and cook briefly, but keep an eye on them.
What if my batter is too soft or sticky?
Chill it longer. If it’s still soft after chilling, add 1–2 extra tablespoons of flour, a little at a time, until it holds its shape. Don’t overdo it, or you’ll lose the melt-in-your-mouth center.
How do I prevent sticking to the iron?
Grease well and use a light hand when dropping dough. A tiny dab of neutral oil on the iron before the next batch helps. If you still get sticking, wipe the plates with a paper towel between batches.
Can I freeze the dough?
Absolutely. Shape into balls or logs, wrap tightly, and freeze. Thaw in the fridge before baking. You’ll still get fabulous texture and flavor.
What flavor enhances the cookie without overwhelming it?
Vanilla is your best friend, hands down. A pinch of almond extract adds a nice, nutty note if you’re into that. For a modern twist, try orange zest and white chocolate—bright and fun, not cloying.
Conclusion
So there you have it: waffle cookies that taste like a cozy weekend and feel like a little victory in every bite. They’re quick enough for a midweek treat, but fancy enough to share with friends who still think you’re secretly a chef. IMO, the best thing about these is how forgiving they are—mess up once, tweak a thing or two, and you’re back in cookie heaven. FYI, you’ll want to bake these again, and again, and again. Your taste buds will thank you.